
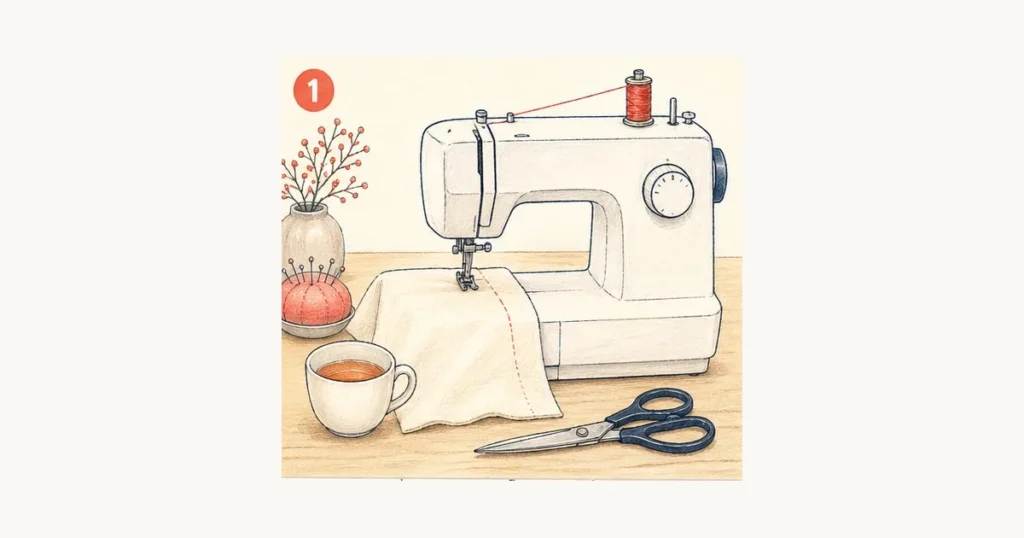
This guide covers the fundamentals step by step: the parts of your machine, how to thread it, how to sew your first straight line, and the most common beginner mistakes — plus how to fix them. These are the same basics we teach in every beginner course at Sew and Grow. The difference is in how it’s taught: structured, simple, and designed for complete beginners to succeed from day one.
The truth is, learning to use a sewing machine isn’t hard — starting without guidance is.
I’d avoided sewing my whole life because I thought I wasn’t crafty enough. Within two lessons at Sew and Grow I’d made a cushion cover. Within two months I was making my own clothes.
What you’ll need
Part 01Getting to know your sewing machine
Before sewing anything, spend a few minutes getting familiar with your machine. While different brands vary in layout, the core parts are the same on every home sewing machine.
The needle carries thread down through the fabric and back up to create a stitch. The presser foot sits just above the needle plate — think of it as the hand that holds the fabric flat while you sew. It needs to be lowered before you start stitching, or the fabric will bunch and go nowhere. This is the single most common thing beginners forget.
The bobbin is a small spool that sits underneath the needle plate. Here’s something worth understanding early: a sewing machine uses two threads to create each stitch. The top thread and the bobbin thread lock together in the middle of the fabric. Once you understand that, a lot of troubleshooting makes more sense.
The hand wheel on the right side raises and lowers the needle manually. The foot pedal controls speed — gentle pressure gives you gentle speed. And the feed dogs, the small teeth under the presser foot, pull the fabric through for you. Your job is to guide, not push.
Part 02How to thread your sewing machine
Threading looks complicated the first time, but it follows a logical path that becomes automatic after a few tries. Every machine is slightly different, but the basic sequence is the same.
Start at the spool pin on top. Guide the thread down through the tension discs, back up through the take-up lever, and then down to the needle (threading front to back on most machines). Look for numbered guides or arrows printed on your machine’s body — most manufacturers include them.
Getting the threading right matters, because if it’s wrong, nothing else will work properly. Stitches will loop, thread will snap, and the machine will seem broken when it isn’t. If something goes wrong, the best first step is almost always to rethread from scratch.
For the bobbin: wind it evenly, insert it into the bobbin case, and make sure the thread pulls in the direction your manual specifies. Take your time with this step — it’s worth getting right.
If your machine came from a family member or a second-hand shop and you don’t have the manual, search the model number online. Almost every sewing machine manual is available as a free PDF. Don’t try to guess the threading path — get the manual.
Part 03Sewing your first straight line
Start with a piece of scrap fabric. We recommend 100% cotton for beginners, because it behaves — it won’t slide around, it won’t stretch unexpectedly, and you can finger iron it flat without needing an actual iron. This is the kind of fabric that lets you focus on technique instead of fighting the material.
Position your fabric
Place fabric under the presser foot, lining up the right edge with the foot’s edge.
Lower the presser foot
The single most common step beginners forget. Without this, the fabric won’t feed.
Press gently and guide
Slow, even pressure on the pedal. Watch the foot edge — let the feed dogs pull the fabric.
Backstitch to finish
A few stitches in reverse at the start and end locks the seam. Skip this and it’ll unravel.
“Don’t watch the needle. Watch the edge of the presser foot instead.”
Your first line won’t be perfectly straight, and that’s completely normal. The goal right now isn’t perfection — it’s getting comfortable with how the machine feels and responds. With practice, straight lines become second nature. Every step is an achievement.
My first seam looked like a drunken spider crossed the fabric. By week three I was sewing a hoodie. Fatima never once made me feel like the questions I asked were silly.
Part 04Five common beginner mistakes
These come up with almost every new student. If any happen to you, it doesn’t mean you’re doing something wrong — it means you’re learning.
Thread bunching underneath the fabric
The most common beginner issue. You flip the fabric over and find a messy tangle of thread. Nine times out of ten, it’s a threading problem — not a tension problem, not a machine problem.
Fabric puckering along the seam
This usually means the needle isn’t matched to the fabric. A thick needle on lightweight cotton will push the fibres apart instead of sliding through.
Uneven, wobbly seams
The most common cause is speed. You’re pressing the foot pedal too hard, and the machine is moving faster than your hands can guide.
Forgetting to backstitch
Without backstitching at the start and end of every seam, the seam will unravel the first time the garment is washed.
Choosing the wrong fabric to learn on
Stretch jersey, slippery polyester, and sheer fabrics are difficult even for experienced sewists. Starting with these is setting yourself up for frustration.
Don’t choose what we call a “disposable sewing machine” — the very cheapest models that feel flimsy and jam constantly. A good entry-level machine is an investment in your confidence. It should feel sturdy, sew smoothly, and not frustrate you before you’ve even learned the basics.
Part 05What to make first
The best first projects are simple, practical things you’ll actually use. A drawstring bag, a cushion cover, or a simple tote are all excellent starting points — each teaches a different foundational skill without overwhelming you.
At Sew and Grow, these are the exact projects we start every beginner with — because they build skill in the right order. The drawstring bag teaches straight lines and casings. The cushion cover teaches neat openings and invisible closures. The tote teaches you to handle multiple layers and attach straps. Every step builds on the last.
I walked in not knowing what a bobbin was. Six weeks later I made a duvet cover for my daughter’s bed. The structure of the lessons is what made it click.
Part 06What comes next
Once straight seams, threading, and basic projects feel comfortable, the next level introduces techniques that make your work look professional. Level 2 covers pockets, buttonholes, elastic casings, and piping — the skills that turn simple projects into garments people can’t believe you made yourself.
Don’t figure this out on your own.
Most of our students start exactly where you are now. The difference is they don’t stay stuck there. Whether you join us in person in Johannesburg or online from anywhere, you’ll get the structure, support, and the right machine to actually succeed.
Got a question Fatima can answer?
If something in this guide didn’t click — or you’re stuck on a specific machine problem — Fatima reads every email personally.
Email Fatima a question →